Создать Idena аккаунт
После того, как вы прочли Введение в Idena, давайте посмотрим как создать ваш аккаунт.
Так как есть много вариантов создать аккаунт, давайте для начала разберем самый быстрый и простой способ, который также снижает риск провалить валидацию к минимуму.
Прежде чем мы начнём, если вы являетесь пользователем Виндовс, важно загрузить бесплатную программу, которая поможет вашему компьютеру синхронизировать время и не иметь проблем во время валидации. Программа называется NetTime и вы можете загрузить её нажатием на эту ссылку. Процесс скачивания очень простой: просто оставьте все по умолчанию, Далее, Далее и готово.
How to create new Idena account?
If you have already downloaded Idena Desktop App and went trough the process of waiting for it to finish with synchronisation, you are now already in possesion of a Idena account. You can now read on how to get Idena invitation and skip to next step.
Now let's take a look at the Idena Web App, the most easiest way to create your Idena account, without installation or synchronisation and how to log into it. You can use it either on desktop, mobile or tablet.
To all new members I recommend that you attend first validation using Idena Web App. Why? If you try with Desktop App, many will have situation where their App will fail to synchronize and work well on the validation day. The cause for this is technical in nature, bad router, weak PC or bad internet connection. If this happens, you will fail validation and will have to wait 20 days for next one.
Visit this link app.idena.io which is Idena Web App. You can use it on both desktop PC, mobile phones or tablets.
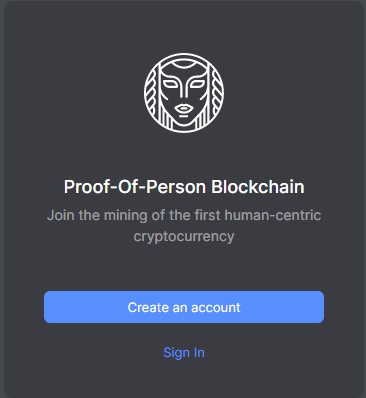
You will be presented with two options. If you don't have an account, press button "Create an account". If you have already installed Idena Desktop App, you already have Idena account and you can see how to Import it using "Import private key" option (click for a video explanation). Now we will see how the new account is created.
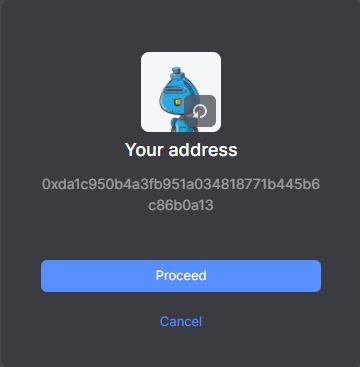
After you have pressed "Create an account" button, your Idena Address will be shown to you. That is address, used similar to a bank account number, you can freely share it with someone if you want someone to send Idena coins to you.
Now is the perfect moment for you to create some text file or word document which you will use to copy over this address so you can save it and have it for later. A good idea is to save it safely on some cloud like Google Drive. Click on a "Proceed" button.
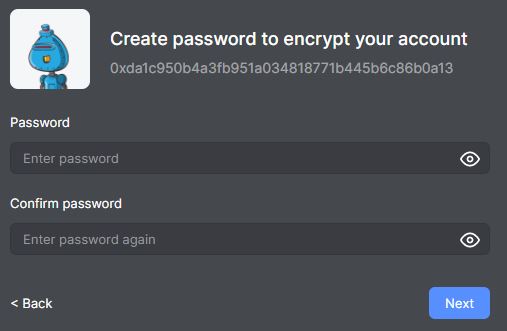
On this step you need to create Idena Password which will be used to protect your Idena account. Enter your password in the first field, then confirm it by entering it again in the field below. Also, very important, make sure you save this password somewhere safe, like in that text document you made in the previous step. If you forget or lose this password, nobody will be able to help you, and all coins that are there will be lost forever. Do not reveal this password to anyone.
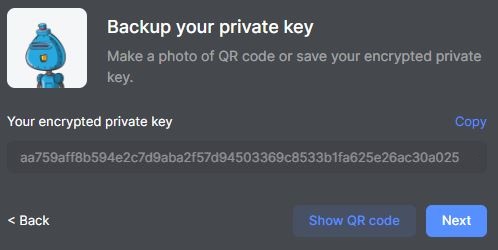
Next information that you get is the most important thing, your Idena Private Key. Also, be sure to save this in your document (copy it by clicking on the button "Copy"). If you forget or lose this key, nobody will be able to help you, and all coins that are there will be lost forever. Do not reveal this key to anyone. Click on a button "Next".
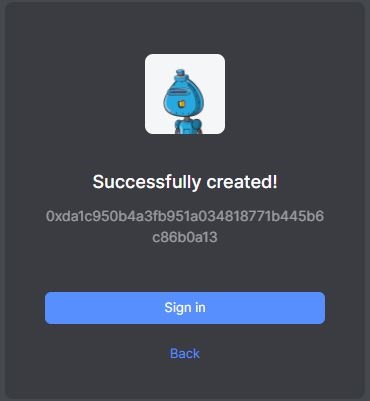
Congratulations! Now you have your own Idena account. Now you can use it to sign in to Idena Web App, click on a "Sign in".
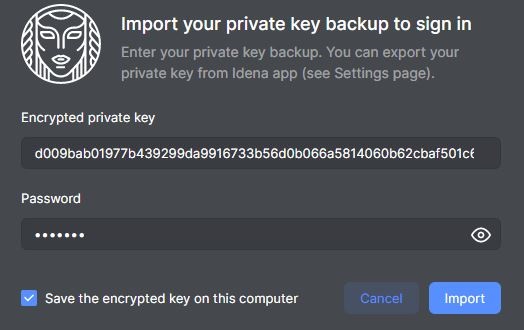
Now you have to enter your Idena Private Key and Idena Password which you saved in the previous steps in backup text document. Click on "Import".
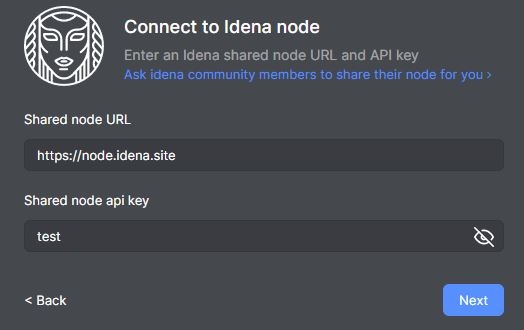
Now you have signed in in your Idena account. Next step is to connect to Idena node. What is Idena Node?
Šta je to Idena nod?

Enter information as presented on picture above
https://node.idena.site
test
And you will be connected to my Shared node. What Is Shared Node?
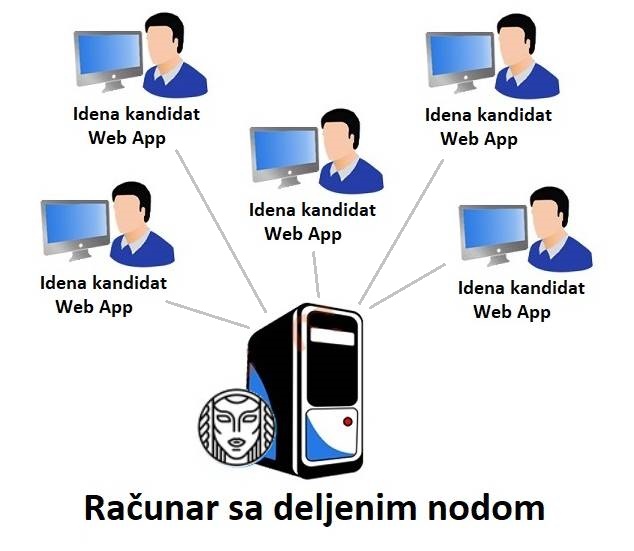
What Is Shared Node?
Shared node is Idena node which is installed on some Virtual Private Serve o internet. Shared nodes are provided as a service to you by some of Idena network members. You can use them to connect your Idena Web App and attend a validation session without any need for you to synchronise your own node.
New candidates often fail validation because they are not tech-savvy and have no good internet and PC setup. The most common situation is that if they have Idena Desktop App which contains its own Idena node, because of bad internet, router or PC, their node has trouble to stay in sync with Idena network and they fail validation. That leads to their disappointment and the fact that they need to wait 17 more days to try and validate again.
For new candidates, best and safest option is to attend validation using Idena Web App and shared node.
Click on the "Next" button.
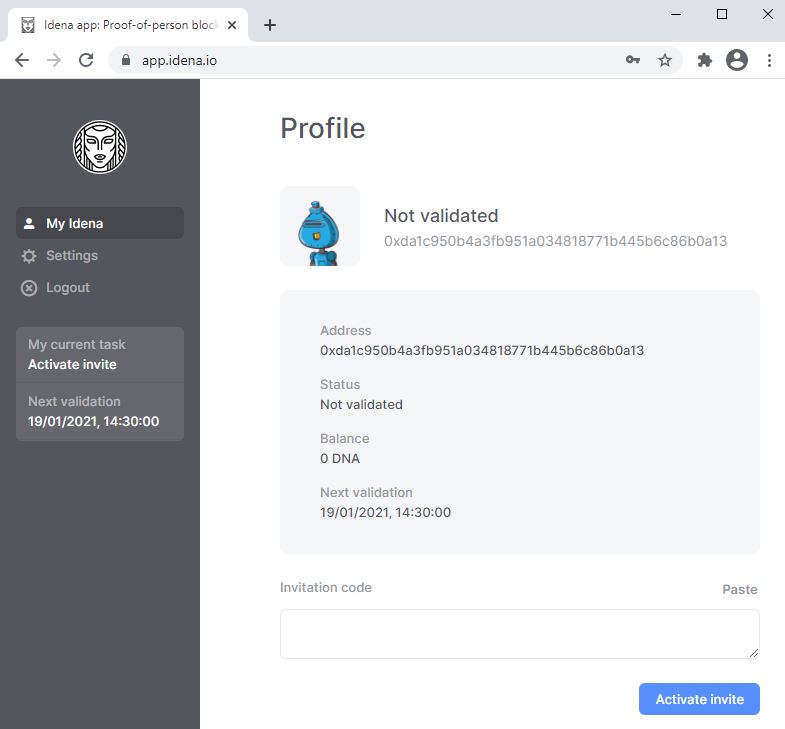
Great job! You have now successufully signed in and connected using your Idena account. Next to the picture of your account, you will see the status of your Idena account "Not validated". In the bottom left corner, Idena will always have your next task written. Your current next task is to "Activate invite", so the next step for you is to find Idena Invitation code, from some member of Idena and to activate it..
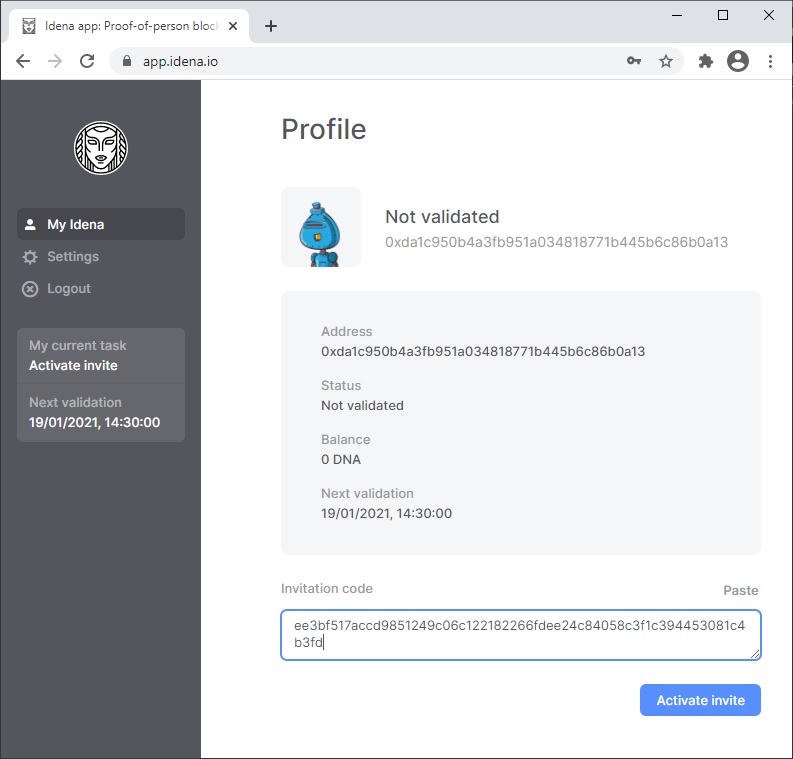
After someone has sent you an invitation, you need to copy it in the field below and then click the "Activate invite" button. Be careful how you enter the invitation, whether you copied it well, that there are no extra spaces or blank lines. One invitation can only be used once.
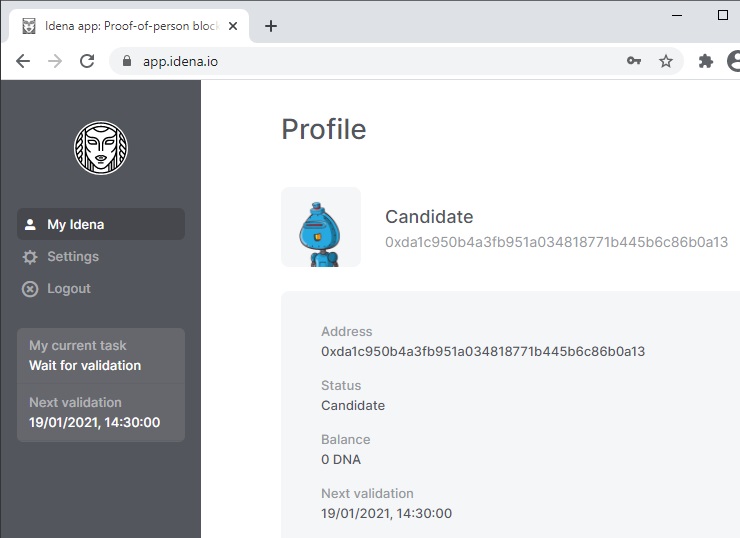
After about 20 seconds, the invitation will be activated and the status of your Idena account will change from "Not validated" to "Candidate", which means that your account is now ready for validation.